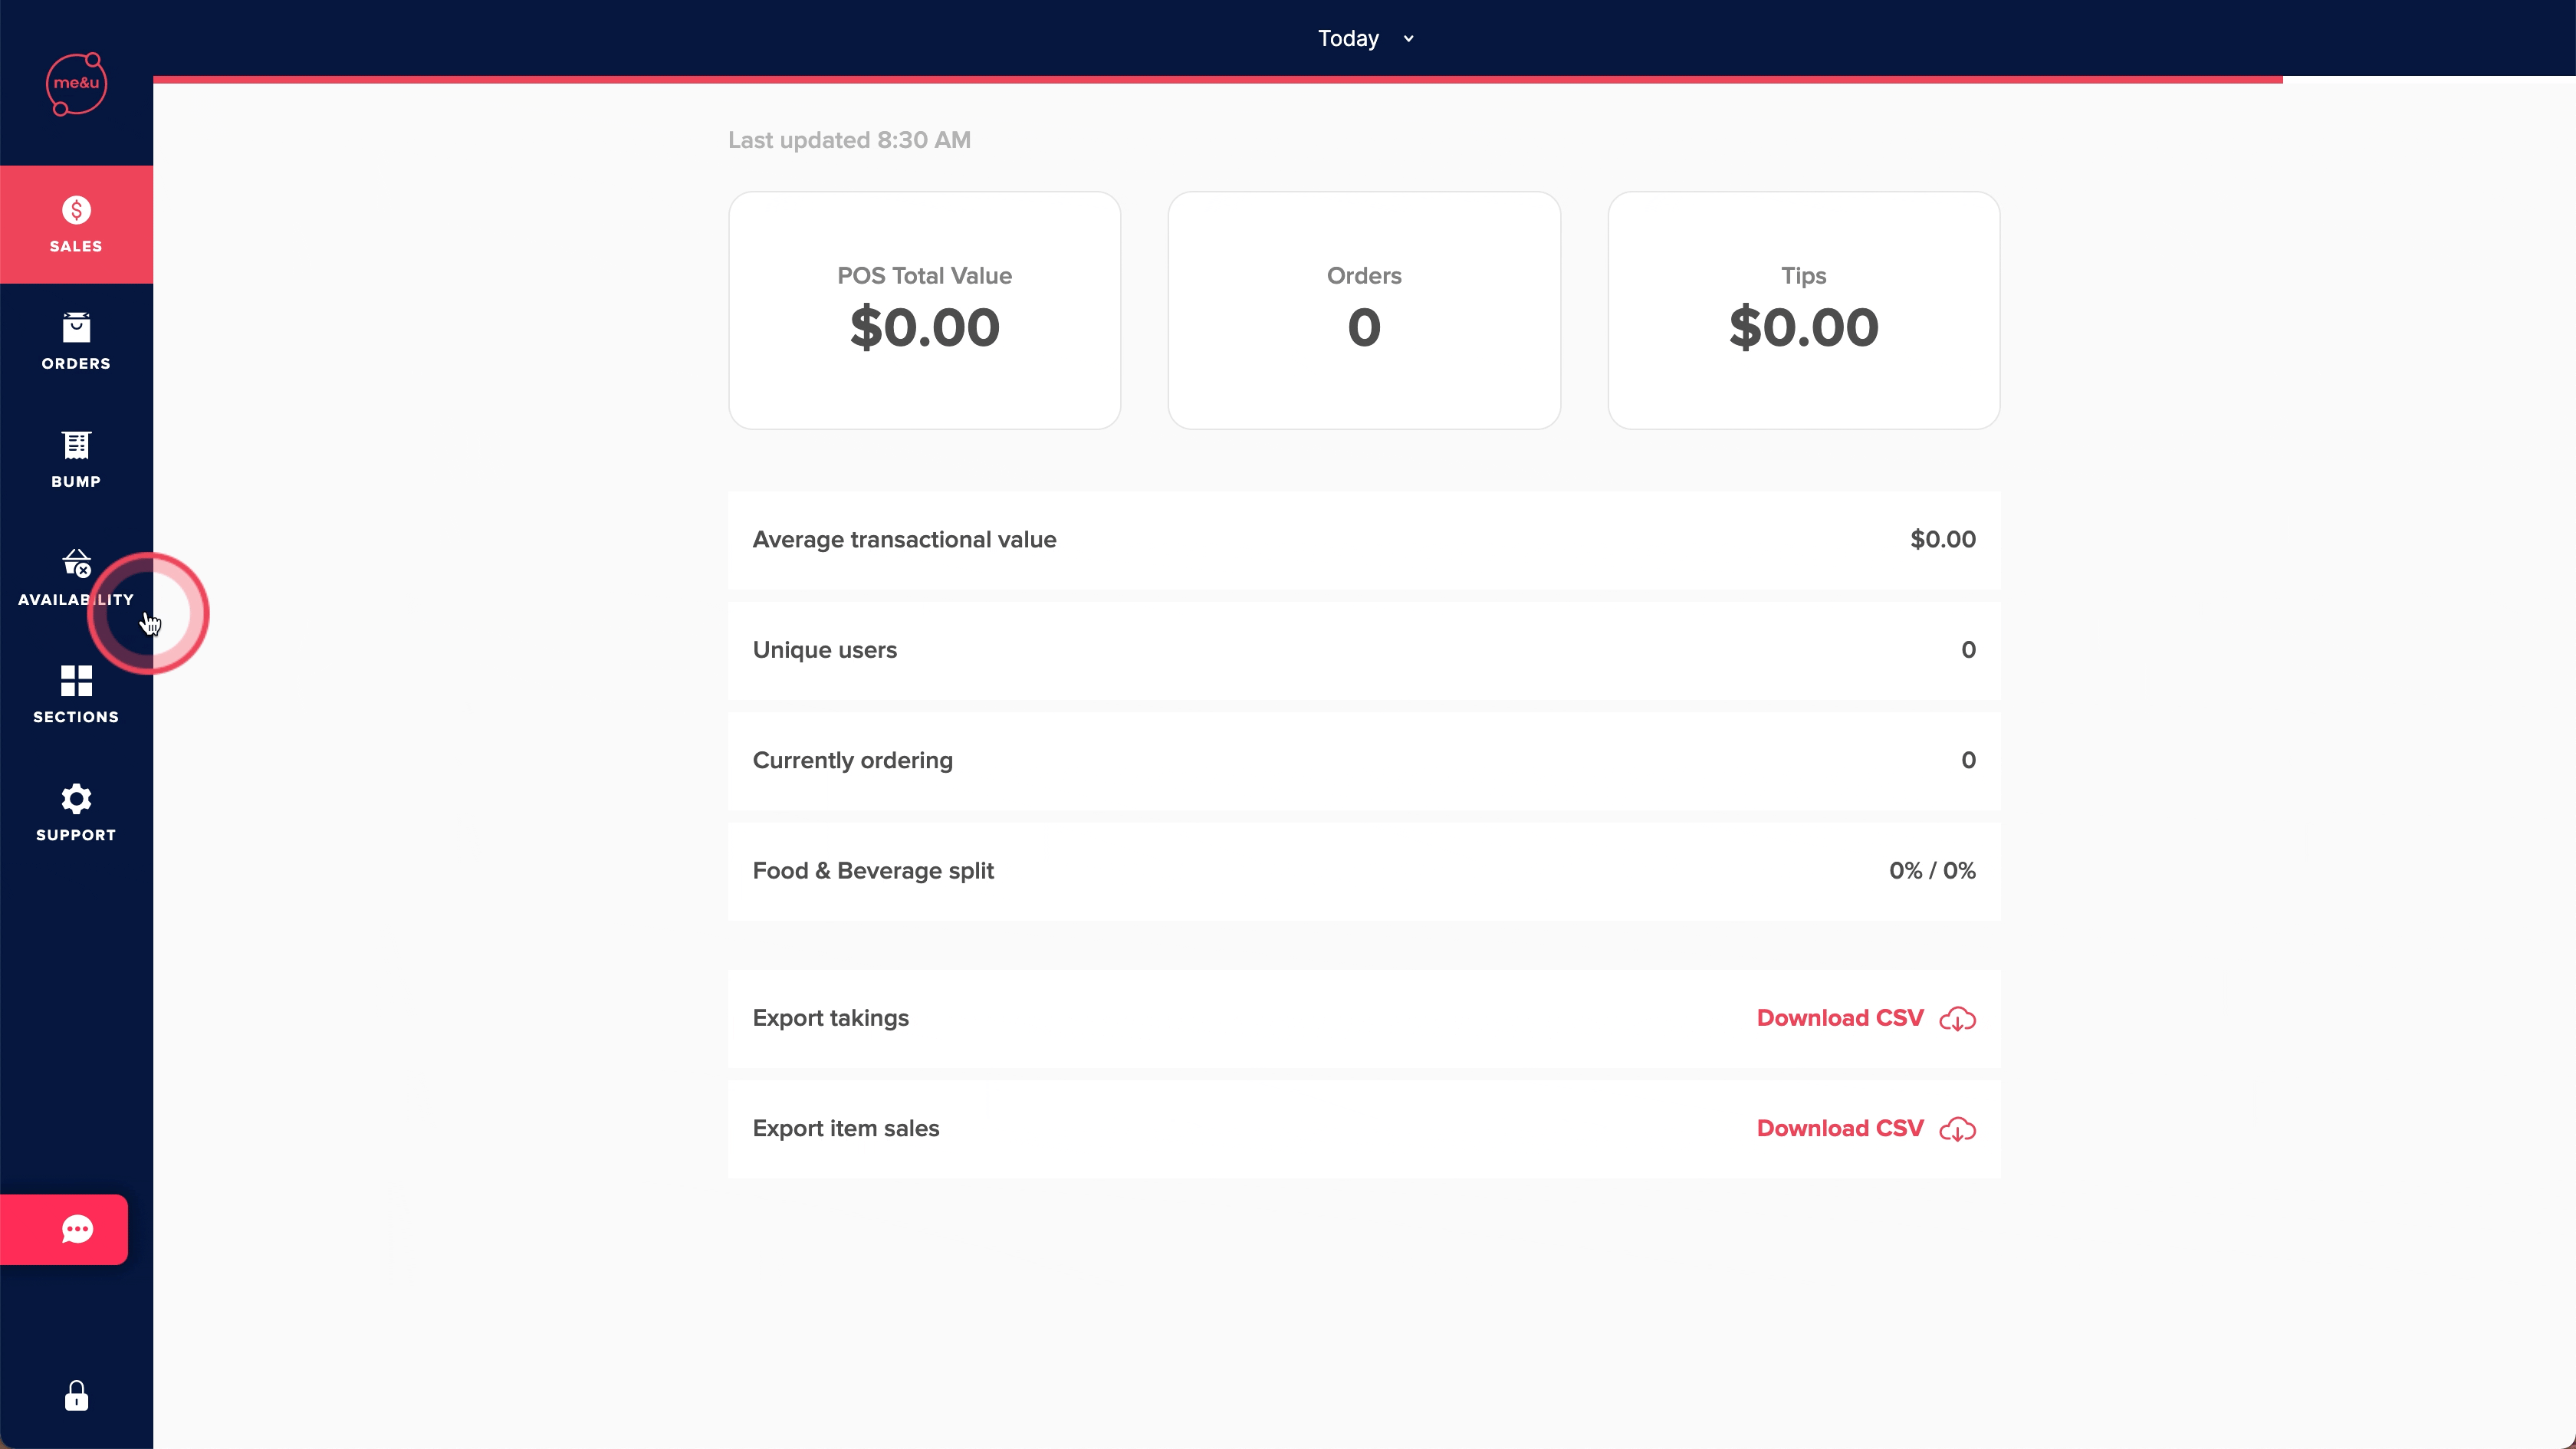
You are able to set wait times on categories in the Venue Manager in order to set customer expectations when they are ordering. This is displayed to the customer in the Services page, category page and on the product page.
.png)
Adding a wait time to a category is done on the Categories page in the Venue Manager.
The Categories page displays all active and upcoming categories in services on that day as well as its current status. These are split into food and drink categories.
- Available: Products in the category can be ordered
- Wait Time: Products will be displayed with a wait time
- Unavailable: Entire category hidden from menu
For detailed instructions on how to make a category unavailable read this article.
Setting a Wait Time on a Single Category
To set a wait time on single category users should select the status indicator for the category on the right side of the screen.
Clicking the status indicator will open a modal screen which allows you to choose wait time as their options.
Once wait time is selected you can choose the wait time to display (what is shown on the menu) and how long the status should remain or clear after.
For example selecting a 15 min wait time to clear after 45 mins will mean that for the next 45 minutes customers will see that the category has a 15 minute wait time. After the 45 minutes the category will automatically revert to normal and the wait time will be removed.
Other options for how long the status remains are Today (will revert at end of the dining day) or Never (will always be shown on the category unless changed).
Once you have selected your required wait time, effect time and clicked confirm you will be returned to the categories list and the category you edited will be marked with the new settings as unsaved. In order to make this visible on the menu click the Save changes button in the bottom right corner.
This allows you to make multiple changes before publishing them to the menu which reduces the amount of changes customers would see.
Once saved the unsaved status will be removed and the effect will now appear to customers on the app. After saving wait times are instantly added, so anyone currently viewing a page that displays wait times will see it straight away.
Setting a wait time on all food or drinks category
You can also bulk edit wait time for all food or all drinks categories that are available or already have an existing wait time. With this feature you can add or remove a wait time from all categories.
To do this click on the Set all wait times button in the bottom left corner
Once the button has been clicked a modal will appear confirming the options. As per above you have the options for what to display and how long to display it but additionally there is the option to apply the change to All available food/drinks or Available food/drinks in service only
All available food/drinks: Will add wait times to all current and upcoming categories that day
Available food/drinks in service only: Will add wait times only categories currently in service
Once edits have been made changes will be reflected in the list view and must be saved before they are visible on the menu.